
- Your cart is empty
- Continue shopping
-
admin
- Posted on
- Categories:Kitchen Gardening Seeds
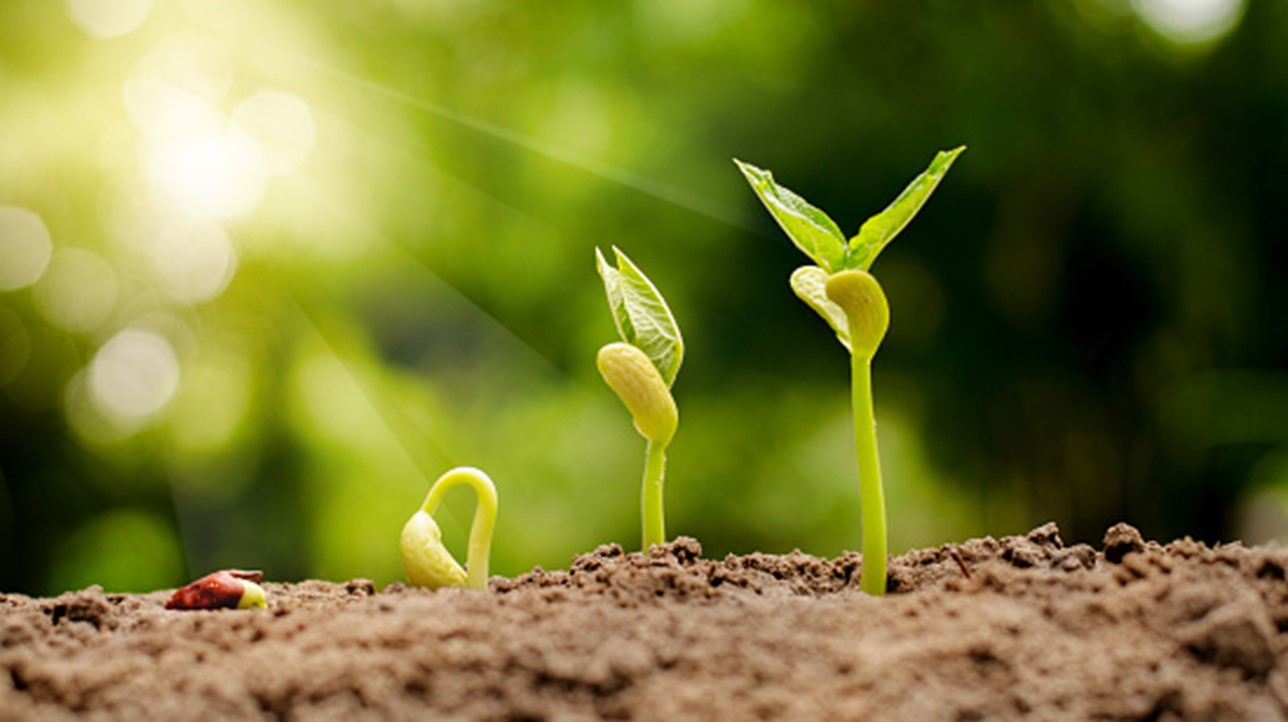
Introduction
Preparing seeds for germination takes a long process. You need to prepare seeds before the last frost so that when the season comes you can directly plant them into the prepared soil. However, before planting sprouted seeds, you need to go through phase 1, that is germination of seeds.
There are several techniques you can use indoors to germinate seeds. In this article, we are going to find answers to the most asked question ‘how to germinate seeds for the garden’. So let’s get started!
Use wet paper towel method

Phase 1
First, you need a wet towel. Place it inside a bowl, and add seeds above it, you are going to germinate. After that, wet the towel completely with water so that seeds could absorb moisture completely.
Moisture is key for seed germination it helps to swell the seed completely and the embryo started to pulp up. Cover the lid of the bowl with a plastic sheet covering and provide light as it impacts the seed’s growth stages.
Phase 2
Place sprouted seeds in a pot, that’s filled with prepared soil. Keep watering the soil to maintain moisture. Place them indoors and wait for seeds to grow more. In this pre germination process, seeds absorb water better which eventually leads to faster growth.
This technique works with lettuce, radish, cabbage, broccoli, cauliflower seeds. It takes 6-8 weeks for the pre germination process.
Phase 3
After your seed fully sprouted, you can place them in an outdoor garden where they will get sunlight and more space to grow. You can still place them in a big planter that doesn’t require much space and still provide an appropriate place to grow.
One of the advantages of this technique is you can germinate seeds weeks before planting season and seeds germinate faster.
Soaking seeds in Water Technique

Phase 1
In the swelling seed technique, you need to first soak seeds in water so that their outer layer gets swollen and the embryo layer gets up the pulp. You need to do this for 24 hours so that moisture penetrates inside it completely.
This technique is helpful because seeds absorb moisture better and it helps them to swell coating. It works best with large seeds like beans seeds and squash seeds.
Phase 2
After the seeds sprout, place them in garden soil. Nutrition and sunlight are essential for the further growth of sprouted seeds. You can place them in an outdoor kitchen garden. However, you need to prepare the soil first, with nutrition’s that are needed for plant growth.
Prepare soil for plantation
Preparing soil for plantations is not rocket science. However, it does need some work to make it appropriate for plant growth. The plant needs nutrients to grow and transfer energy to all parts, that is why we need to add nutrients into the soil in the form of organic matter.
This decomposed organic matter could be fruit scraps, vegetable scraps, coffee grounds, or eggshells. Also, the soil needs to be warm, moist, and slightly acidic up to a 6-7 pH rate. Loam soil is best for plantations because it has perfect moisture lock capability, it absorbs water effectively. So, add loam soil in your kitchen garden for plantation.
Conclusion
Some seeds need extra care to germinate while others could be directly placed in an outdoor garden. However, germinating seeds indoors is always a smart choice for first-time gardeners as you can change the atmosphere by making a small greenhouse to germinate seeds faster.
I hope this technique would be useful for you and for more content like this visit the official page of Agrisetu where you can get all related information regarding Agriculture. Thank you!